Linen Craft Box Tutorial
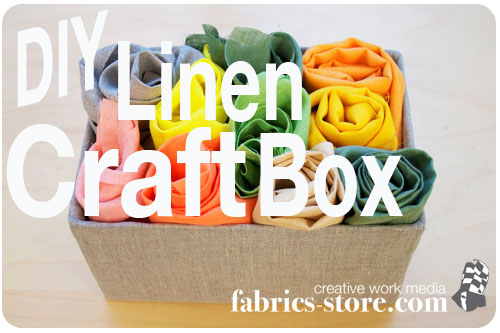
If you are looking for a linen craft that will help you stay organized, this is it! An ordinary box is transformed into something beautiful once it is covered in linen.
Once your box is covered in linen, you can fill it with all your craft supplies and be proud of how tidy you are!
Just grab an old box, some glue, and your linen to get started on your stylish linen box!
Materials:
- a box
- linen
- scissors
- fabric glue or hot glue
I used an old box I found lying around house for this craft. A shoebox works well for this. A tall narrow box would make a great magazine or paper holder. There are so many different shapes and sizes of boxes that you can really use this to hold just about anything you like.
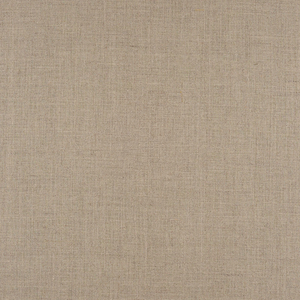
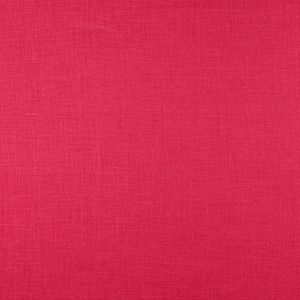
I chose 4C22 linen in Natural for the outside of my box and IL020 in Apricot for the inside lining. You can have fun choosing different colors of linen for your box. Make a few boxes in different sizes and colors to use around your home. It makes a good "junk" catcher or box to hold any loose objects around your home.
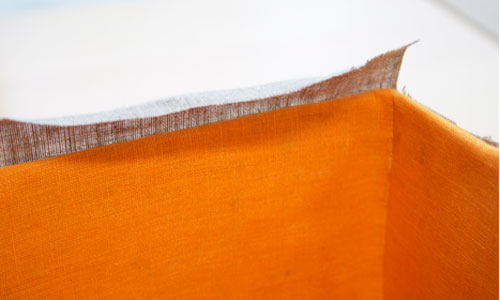
I left about a centimeter of linen to hang over the edge. This makes measuring a little easier and the final product look cleaner.
Then just glue it down. Go easy with the glue! Sometimes they don’t dry clear and will seep through the linen, leaving ugly dark spots.
Now for the outside of the box. I covered mine in Natural linen.
The outside is covered mine with two cut pieces of linen. By this is mean, I cut a strip to cover an edge, the bottom, and the other edge. Then another piece to cover the other two edges and the bottom again. This will give you cleaner edges and be little easier to measure as well.
I measured both of these pieces to be wider and longer than the measurements of my box. You will see why I did this in later steps. I’d scroll down and read all the directions before making any cuts into the linen, just so you can get a good idea of how I covered the box.
There are tons of different ways to cover a box in linen. I am just showing one way that I found simple to do and follow. If you make a mistake, then just experiment with another method.
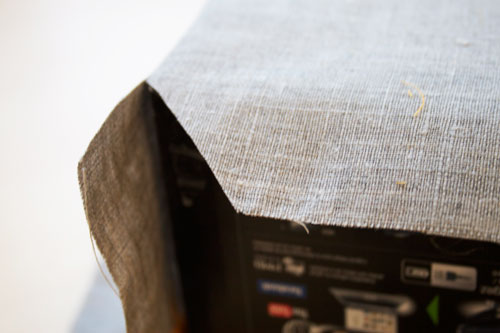
Don’t worry about following everything exactly! It doesn’t matter how you got your box covered, as long as it eventually is beautifully covered in the end!I cut the edges for the corner (as shown in the image above) for the first piece of linen to help them lay flatter once glued.
This is what two sides of your box should look like at this point. These ugly edges and the exposed box will all be covered up with the remaining piece of linen.
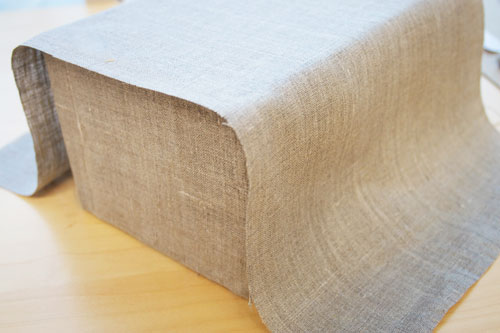
Place the other piece of linen over the bottom and sides of your box that need to be covered.
Don’t glue just yet though! The next step shows how I like to form the edges so everything looks neat.
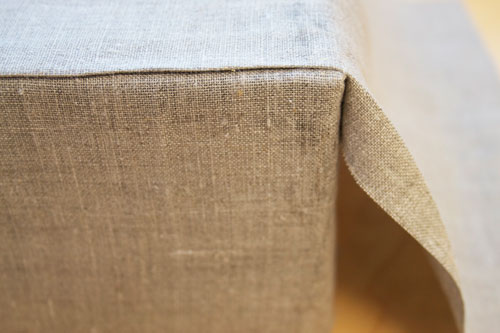
I like to fold the edges in before glueing the linen in place. I do this for both sides of the second piece of linen.
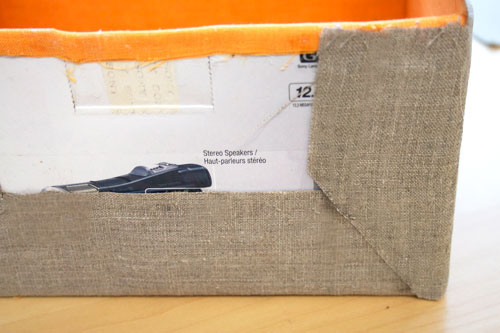
The image above shows one edge of my box and how the extra length of natural linen is still remaining.
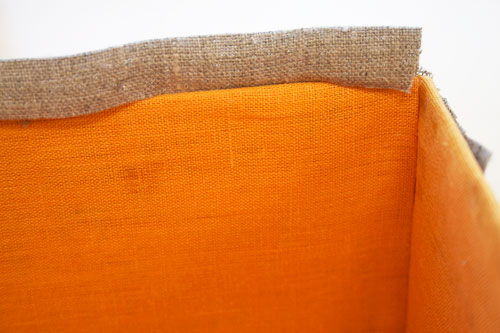
What I do with this is fold it once so that it reaches the top edge of the box.
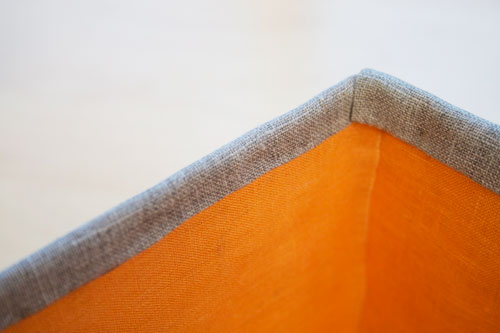
Then I fold it down again and glue it in place. Do this for all the edges. Doesn’t it look great?
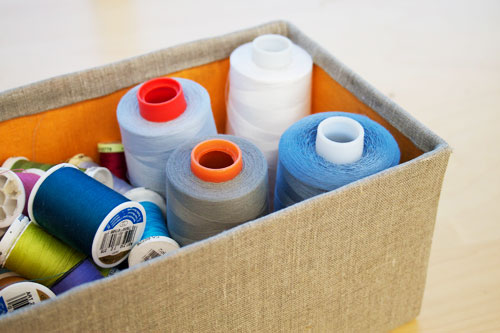
Now your box is all ready to be filled. I put some spools of thread in mine.
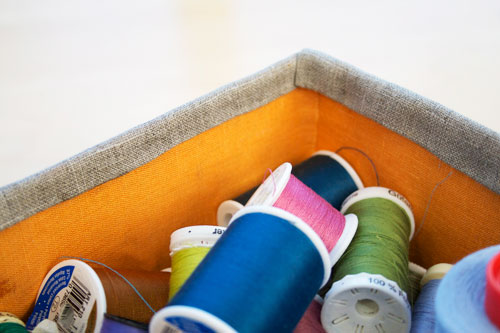
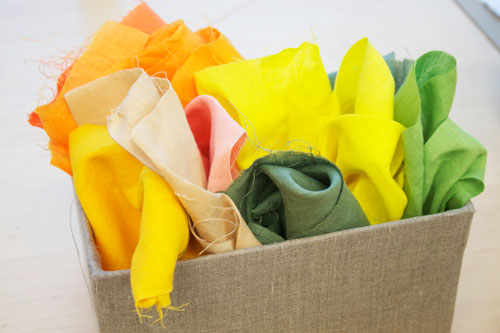
I love how the colorful lining of the box looks!
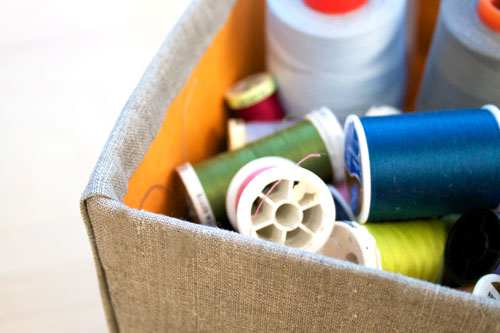
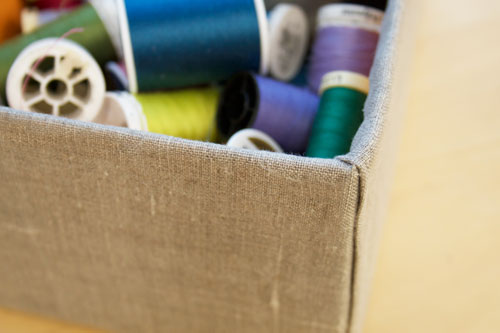
The folded edges really make the box look great, I think.
There is a lot of IL020 in there! I love how vibrant the colors look. You can find these colors and more here>>IL020
My fun craft helped spark some organization! If you need some vibrant colors for the Spring, definitely check out the IL020 selections here>> COLORS
*Let me know how you liked this latest craft idea with linen! Comments are always welcomed and make sure you stop by our Facebook page when you get a chance. Thank you!
More linen colors can be easily found here>> LINEN.



















8 Comments
AmyCat =^.^=
Paula: The header photo is SUPPOSED to be “old-fashioned”; it’s people costumed (in lots of linen!) for a RENAISSANCE FAIRE. Many of the people who shop and look for ideas here are involved in costuming for historical-reenactment events.
JennieD
This looks like a really cool thing to make, but if I wanted to do this project, I’d want to use something a bit more “sturdier” than just a cardboard box. I’m assuming that it would also work if you used a wicker basket too. But, of course I’d want to print off the directions, since I wouldn’t want to keep coming back to the online directions.
Lee Zimmer
THIS IS GREAT FOR KEEPING YOU ORGANIZED,ESPECIALLY WHEN YOUR WORKING ON SEVERAL PROJECTS…..[[ THANKS A BUNCH ]]
Bonnie
If you are feeling very organized, you could embroider the word of the category of the items contained in the box on the front piece of linen before you glue it. This would look very nice if you had multiple boxes of the same size all on one shelf or general area. Ex: one box says “thread”, another says “linen scraps”, another says “notions”, another “buttons”.
Maggie
I just moved, so covering boxes with linen is a wonderful idea, since I have downsized to half my former living space. The best part of you sharing this idea, is the timing. I have boxes and I have linen and I have some storage problems for the stuff that was packed in the boxes.
The inspiration came before I had to sit on the boxes and thump my own head trying to figure out a solution. THANKS!
Paula Daniel
PLEASE.. change the photo on your header. It is such an old-fashion, heidi-esque photo.
How about a row of photos of the new projects you are posting – like.
Thank You
Karen
Very nice, Nicole! Another thought…you could do a box with a lid or even a box with a top that folds in. Instead you could have it fold to the outer edge and have a little bit of velcro for a closure. You could embellish where it hooks to the box. 🙂 Thanks for sharing your ideas!
Deanna Johnson
I like this. Great for my left over pieces of fabrics!