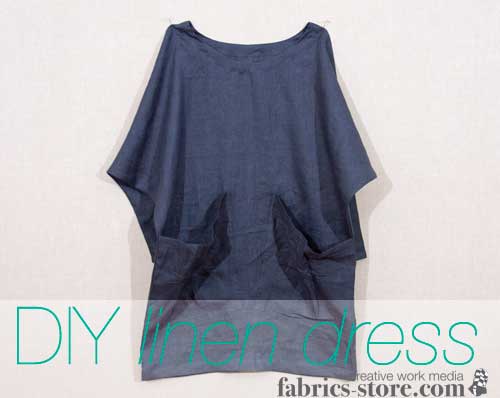
How I Made A Linen Dress.
If this is your first time sewing a dress, don’t worry. I’ve been there. I know how intimidating the idea can be. However, the point is to have fun and let loose with your imagination. Who cares if you don’t get it right the first time?

I remember the first time I tried sewing a dress. I remember how daunting the idea seemed at first and how I felt sure that I was going to fail. Nevertheless, I decided that I would not let my fears hinder my creativity. I decided to sketch a simple design and focus on one step a time.
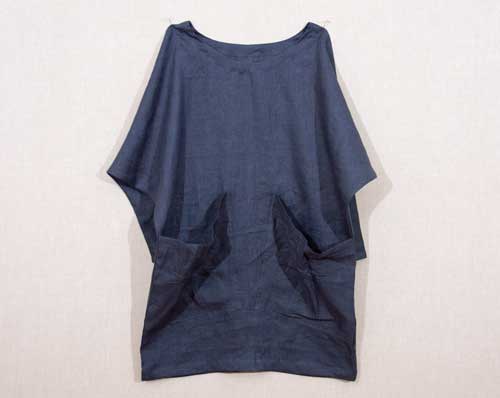
The design I’m going to share with you today is the same one I tried my first time designing a dress. My first experience sewing a dress showed me one very important thing: you don’t need to be a fashion designer to make your own design. I knew what styles of clothing I liked and began formulating an idea of how I wanted my dress to look. In the end, I created something simple and chic that I still love to wear today.
First, I wanted my design needed to be fairly simple. I didn’t want to spend too much time or money on this project. I just wanted something simple with clean, crisp lines.
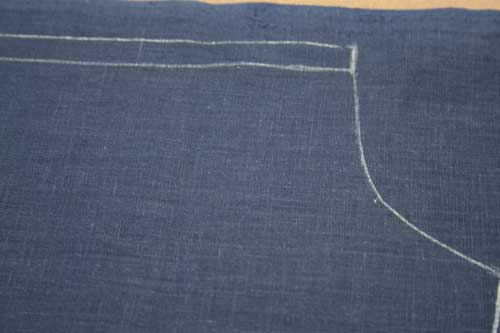
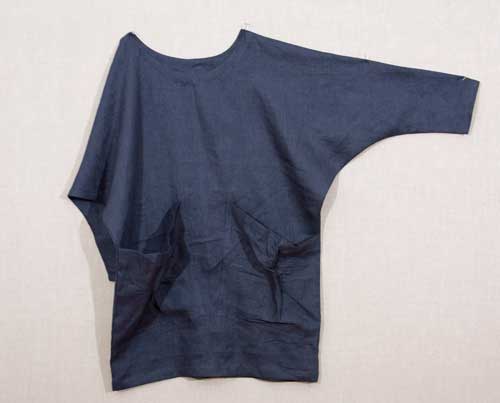
Personally, I love it when I find pockets on a dress so I made sure to include some in my design.I also really like the bat wing style of sleeves, so I threw those in there as well.
As for my fabric of choice, well, the answer to that was a given. Linen!
What type of linen exactly though? There were so many weights and colors to consider! I finally settled on IL020 because I wanted something light to keep my dress from looking drab or too much like a shapeless smock. The color I chose was Duke Indigo; a darkish navy color that I think will be suitable for any season. I like the dark color because it’ll allow me to accessorize in a variety of ways.

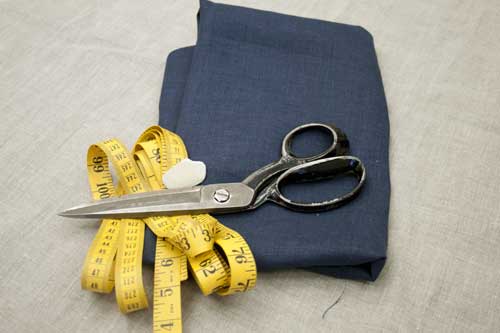
I ordered two yards of linen for my dress and ended up having a little extra once I was done cutting it. It’s a good idea to wash and dry your linen before your begin making any clothing. Laundering before you measure and cut the fabric gets rid of any future shrinkage issues.
Pattern-making time.
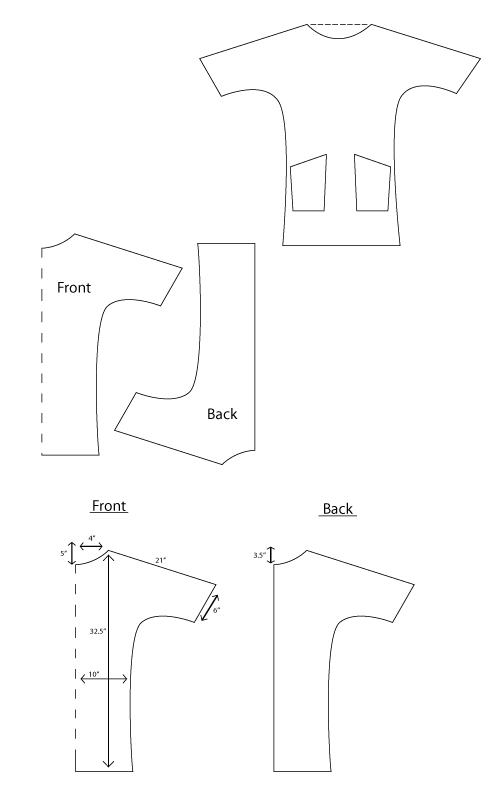
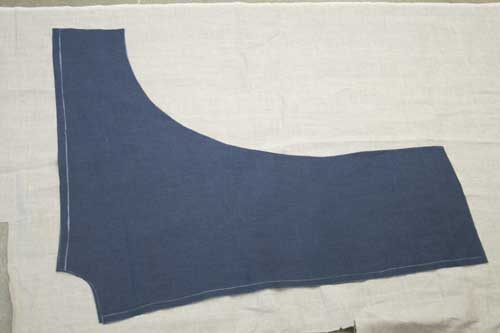
Once I made a sketch of my design on paper, I needed to make a pattern. The pattern would then be traced onto my fabric with chalk so I wouldn’t make any mistakes. The pattern shows two side views of my dress.
I measured myself to get the size right, although I chose a loose design so sizing didn’t need to be precise.
The first image shows the initial sketch I draw for my design. The second image shows the shape of the actual patterns I needed to cut.
In order to waste as little linen as possible, I traced my patterns onto my fabric onto a double-folded piece of fabric. The second middle image shows how I arranged these onto my fabric.
As the image shows, I doubled my linen and placed the folded edge on the left side. I then traced the front pattern along the folded left edge. This will leaves me with one single piece once cut. The back pattern is inverted next to the the front pattern. This does not have any folded edges and leaves me with two separate pieces of cut fabric.

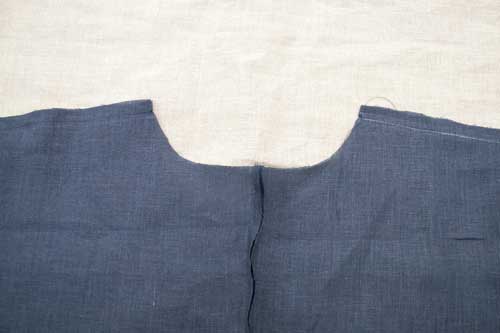
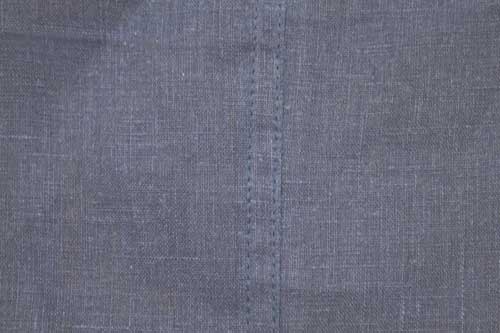
Why did I cut the patterns like this? Well, as I said, I wanted to waste less linen. Also, I chose not to have the back be one single piece of linen. My plan is to have a seam going down the back of the garment that joins these two pieces. It is a detail I think will look nice on the dress, as well as keep the back looking more tidy by reducing the wrinkles caused while sitting.
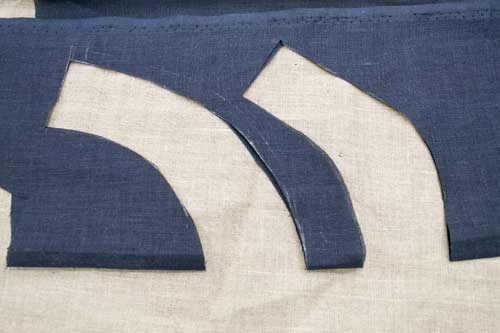
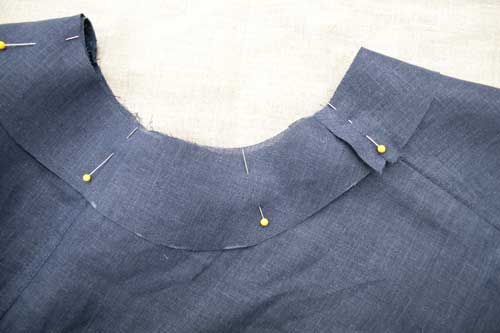
Then I cut out each piece.













28 Comments
Andi
I would most politely suggest that this pattern be taken off the website unless it is updated. I nearly cut into my beautiful linen just before I noticed to neck measurement of 4″ must have been a misprint as it would only allow barely 16″ for my head to fit through. Perhaps it should be 6″. There are so many unanswered questions listed! At this wonderful age of 62, I love to being wrong, so please let me know if I’ve misunderstood anything. 🙂
Martha
Andi, the circumference of a circle is the value of pi (3.14) multiplied by the square of the radius. If the radius is 4 inches, the circumference of the neck opening will be approximately 25 inches! This should suit an ‘average’ woman with a head size of 22 inches.
Katie
Hello! This dress looks beautiful but I would really love to see a picture of it on! I looked on your facebook page all the way back to 2011 but didn’t see it! Can you post a pic of it on, or send me a pic if you have one? Thank you so much!!
Athena PN
Agree with Katie – clothes shown on real folk help me to visualize end results, particularly if my body type might require changes to the pattern. Thanks!
Dee
Can I ask what size clothes you would wear normally or pattern size you use on printed patterns? This would give me a better idea since there are no pictures.
Therese
Hi there! Made a similar dress from your tutorial thanks! I changed the pockets and added a pop of fabric at the shoulders (mainly because I’d made the neck too big!) I’ve linked your tutorial to the photo of the pin of me wearing my dress to give you credit for the tutorial hope this is ok!
Will see if I can post a link x
Beth Gatti
Absolutely beautiful!!!
Terri
YES! Exactly what I have been trying to make! I added three inches to the length and one inch to the width of the body and it made the perfect tunic dress – not snug, not too slouchy. I used a natural colored linen and I love it! Thank you!!!!!
Meg
Hi, I love this pattern tutorial, only one question – have you added a seam allowance all round, I can only see a seam allowance for the middle of the two back pieces. I may have just misunderstood. Can’t wait to make it. Thank you
Chris
I’d like to see a photo of it worn, too. If you’re shy, headless is acceptable! 🙂
Molly
Is there a picture of someone wearing this for me to see?
Bethany
This is the words only of a class handout I did for our medieval group. Same principles apply to this dress.
If you want to see the diagrams and proper formatting I’ll try to post it in the arts and crafts section of my facebook page. Bethany Theilman btheilman@comcast.net
T-Tunics for the Sewing Impaired
Find/buy a tape measure (not metal) and write down some numbers. For yourself, get a friend
to help.
Center Back (CBack) is where the neck attaches to the backbone.
CBack to Chest _______ Circumference around head ______
CBack to Waist _______ Circumference around neck ______
CBack to Hip _______ Circumference around chest ______
CBack to the Shoulder _______ Circumference around waist ______
Circumference around hips ______
Circumference of Arm at the armpit. = Armseye ________
Fold your fabric in half with the two finished “œselvedge”
edges out. Part of these will usually end up as the end of
an adult tunic’s sleeves and will save hemming!
Iron to crease the shoulder fold
Fold it in half again matching the finished edges.
Doesn’t hurt to put a pin or two in to keep the layers
from slipping on each other.
Iron to crease the center fold.
The point is your center back.
Layout measurements Horizontal
Measure down fold from CBack to chest, waist
and hip, mark each with a washable colored pencil
or sliver of bath soap for dark fabrics.
Fabric is now 4 layers thick. Take the
measurements for Chest, add in about 10-15 percent
(usually 4-6 inches) for ease of movement
then divide the whole by 4 and mark the resulting
distance from CB fold on your fabric plus an inch
for seam. Repeat process with Waist and Hip.
Connect the dots.
Layout measurements Arms/Length
Measure CB to shoulder. From shoulder, measure down
the (armseye divided by 2) plus 2 inches for comfort and seam.
From the Chest/4 +1″ measurement mark, carry over armseye
line to finished edges or mark diagonally from armpit to make
swoopy sleeves (dotted line under sleeve in diagram)
For full skirts, go from waist to finished edge of fabric. You
will need to measure along the diagonal and mark it the same
length as along the fold to the desired length. Eyeball an arc
connecting the two to make the skirt even all the way around.
Connect your marks to make a cutting line and cut the fabric
through all the layers ‘ following your lines and making sure
fabric isn’t creeping on the inside of the fold. Pins help.
BEFORE seaming the sides, calculate the neck and keyhole
required to get it over your head. The circle is the
neck measurement. Divide your neck measurement by 3.14
and find a dish with that diameter to draw around..
Keyhole length is 1/2 (Head – Neck). Your seams will take up
some fabric and make the holes bigger.
Cut out neckhole and keyhole slot. From a scrap make a
facing with the same neck and keyhole slot and hem the
outside edges so it doesn’t fray. If fabric has “œgrain”,
match grain.
Matching keyholes, and with the good sides together, sew
the facing to tunic about 1/4 to 3/8 inch from the edges.
Clip curves, turn to inside and press. The neck and keyhole
should now be finished seams. Trim and turn keyhole
corners carefully. Sew 1/4 inch in to keep neck neat.
Tack the edges of the facing to tunic.
a. Quick and dirty: Pin and sew “œright” sides face to
face together about 3/4 inch from the edge. Sew again
under arms for strength. Use pinking shears or fray-check
to keep the raw edges from fraying too much.
OR
b. French seam: With “œright” sides facing out, pin and
sew along arms & sides 1/4 inch in.
Turn inside out, press and sew over same seams again
about 3/8 inch in trapping the raw edge inside seam.
2. Turn right side out. Finish bottom edge by folding up
1/2 inch (to inside) and pressing around edge. Fold up
again to the desired length, pin and tack finished edge to
outside layer from the inside.
Decorate as desired with period appropriate trim or
embroidery. If trimming bottom you can hem to outside
and then cover with trim to hide raw edge.
There should be no visible Zigzag stitch
for general garb, none at all for anything
you want to enter in Arts and Science competition.
kristine west
Thanks for all the great information…teaching myself to sew. My father and mother were both sewers so hopefully it is in my genes somewhere! I have the itch and this will help a lot!!!!
Bethany
Relative to the sleeves, it looks more like a medieval tunic. Need another 2 to 3 feet length for a dress or nice nightie. Exactly same process, just more fabric and embroider some pretties around the top and sleeves.
Patricia Ankrom
I do not usually care for the one size fits all sort of thing. Any chance of a tunic with pleated front shoulder instead of darts. that might be something from a soft linen to wear over pants.
nicole novembrino
The dress is 32.5 inches in length. I’ll try to post a photo of it being worn as soon as possible! Thanks for all the great feedback 🙂
Ruth
Any chance of seeing the dress on a person? I’m curious about how it’s supposed to fit.
Val Smith
How do I get the patteren? the X linen dress is a blink window on my PC Help please
Anne Bobo
I don’t understand enough about the pattern making. When you measured yourself, where did take measures? How did you apply them to the pattern? I think you assume some knowledge of this process in your instructions. Would you please fill us in?
Elizabeth
I’d like to see a picture of the dress being worn so I can picture what the style of the finished product will be.
(Elizabeth) Betty Stroble
I really like the dress design! Nothing was mentioned about the length of the dress?? It looks more like a long jacket? I’m a little confused!! Thanks for an answer!!
Angela
Nicole, I would like to attempt making this dress. However, the photo of your sketch did not post so I have no idea as to what the components shoul look like prior to cutting. I it possible to send or re-post the photo?
Thank you and best regards,
Angela
Lisa
I love the this colour and have posted a link to this great tutorial on the Fitzpatterns Facebook page. Am so inspired I’m going to come and buy some fabric from you.
Sukey
Awesome looking website. I recently built mine and I was looking for some ideas for my site and you gave me a few. May I ask you whether you deopvleed the website by youself?
nicole novembrino
Thanks, Cherie! That’s a good point. I just included a tip about pre-shrinking the linen before you begin.
@Pam- I have 2 yards of fabric to work with initially. There was some linen left over though. I would order two yards and use the remainder for another project. Maybe a simple skirt? That’s my plan!
Cherie Cooper
Please give your readers the info about having to pre-shrink the linen before cutting out a patten.
Cherie
Pam
How much fabric does it take?
Laurie
🙂 I am planning to make a comfy, casual dress from the linen I got from you, so this is very helpful! Thanks !!
Barbara M. McDowell
What a perfect, easy to make quick dress. I’ve made a few similar to very similar to your version, sans pockets. Also, a perfect project for a beginner. Thank you for sharing.