Reusable Bowl Covers Tutorial
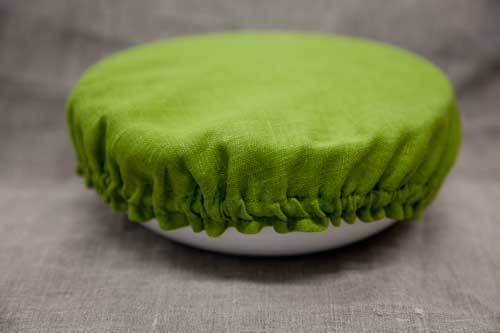
Here is a good reason to avoid wrestling with plastic wrap and dealing with cumbersome Tupperware. Whether you are saving some leftovers or packing up for a picnic, dress your bowls up!
A reusable bowl cover looks so much nicer than plastic wrap or foil, and is much more friendly towards the environment. Bring your covered bowl to your next picnic or potluck and arrive in style.
These bowl covers can be made to fit your bowls perfectly. Make one for a special serving bowl or create a whole set. Get creative with patterns and colors to match your dining ware.
**Just a little note** I suggest transporting dry food only when using a fabric cover. It’s probably not a good idea to cart around some soup with these! But if you just need a temporary cover for some snacks, these work wonderfully.
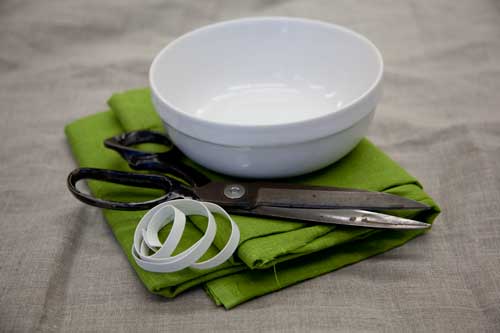
Materials:
- A piece of linen. Enough to adequately cover your bowl.
- A strip of thin elastic ( ¼ “ or â…›”). The length depends on the size of your bowl.
- A sewing machine
- Scissors
- A safety pin
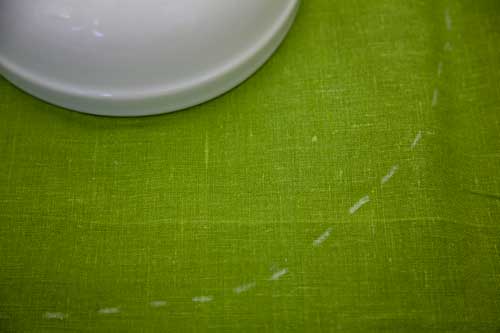
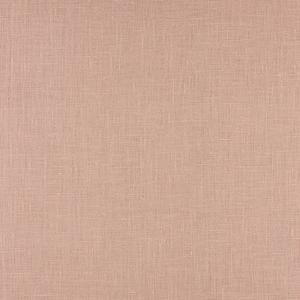
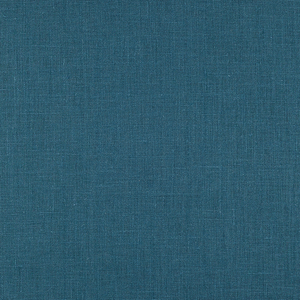
I used IL019 in Turtle Green, but you can use any color of linen you like. Cut a circle that is 3 ½ inches bigger than your bowl using scissors.
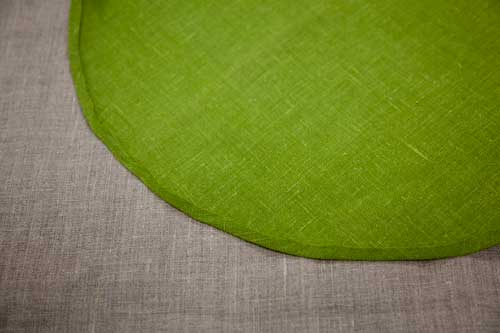
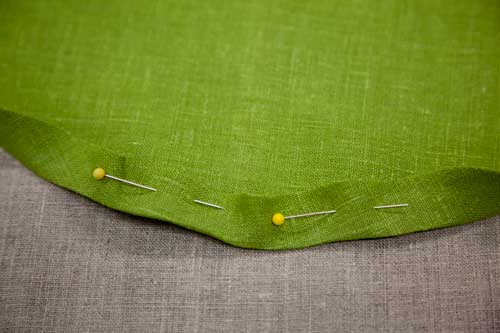
Fold the edges of your fabric inward just a few milimeters.
Fold the edge over again about 2 centimeters.
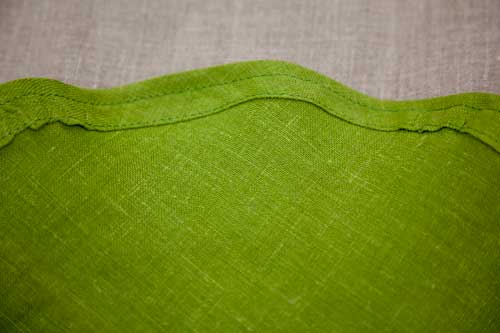
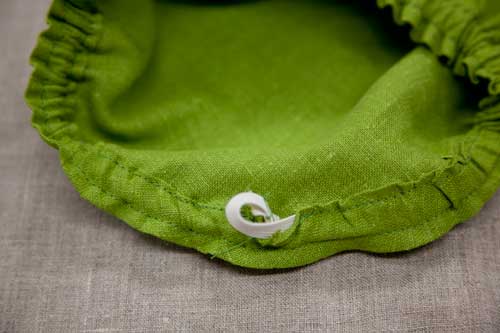
Sew around the entire edge of your fabric, but leave a little opening (about a centimeter wide). Sew two seams just like the picture above. The distance between the two seams should be big enough to allow your elastic to fit inside.
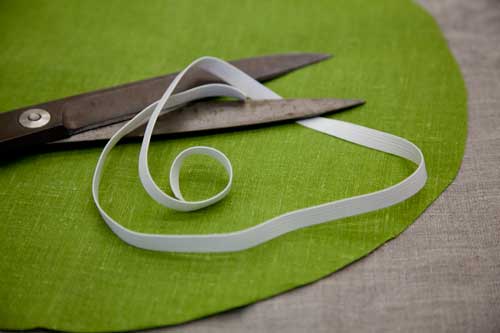
Measure your elastic around the outside of your bowl and subtract about 2 inches from it. If your elastic isn’t very stretchy, then you might need to keep it a little longer. Cut it at this length.
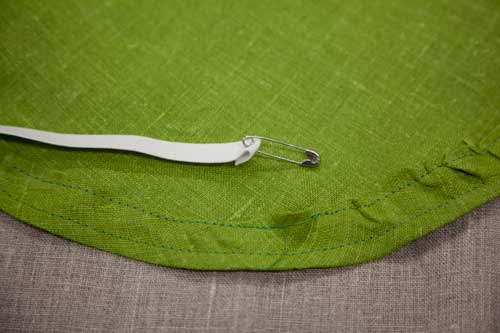
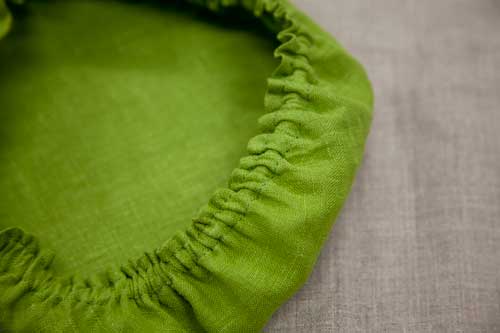
Once the elastic reaches the opening, stitch the ends together. Wiggle the elastic around some until it is completely concealed and stretches evenly around the cover. Seal the rest of the your fabric’s edge by sewing it shut.
And you’re done! Now you can top of your bowls with beautful reusable covers.
*Let us know if you liked our latest craft by leaving us a comment. We love to hear your thoughts and ideas! Don’t forget to check out our Facebook page too!












7 Comments
Donna
I tried this but I don’t sew as well as you do, and my casing had lots of tucks in it, to the point that I couldn’t get the elastic through. Do you have any tips about sewing around circles? Thanks.
nicole novembrino
@Shelley- What linen did you use for your bread sacks? I would try making some with heavy-weight 4C22. Let me know if that helps keep your bread fresher!
hobbit
I’ve been thinking of doing these for ages. All done procrastinating.Putting them on my Christmas to-do list.Mason jar covers gives me an idea…….if I can pull it off I’ll let you know
kim
hmm…think I’ll try some tops for the mason jars too 🙂
kim
Great idea…I’m going to do a bunch of these but…I’m going to line the inside with the heavy plastic from my foodsaver bags/rolls. Should be able to sew it up pretty well.
Thanks for the tutorial :))
Shelley
I made some bread sacks with your linen but they weren’t keeping the bread well enough, so I coated them with beeswax. You can find a tutorial online. It seems like it would be a great additional step on these bowl covers! I would not apply beeswax to the casing with the elastic to keep it more pliable. I’ll try it and let you know.
Lady AElflaed
It would make a nice hat. =)