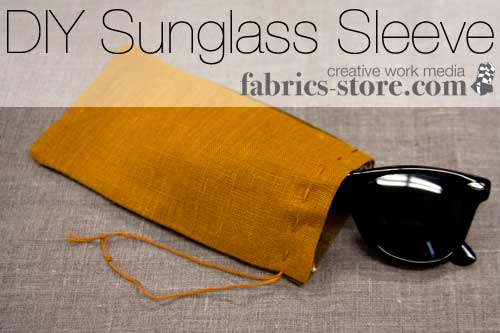
DIY Sunglass Sleeve Tutorial
I’ve broken and scratched countless sunglasses because I’ve refused to put them in their case. Although I want to protect my sunglasses, I just can’t bring myself to lug around a bulky case. I throw my shades in the car, toss them in my purse, and shove them in my pocket if it means one less thing to carry.
That is why a sunglass sleeve is the perfect solution for me. A sleeve made of linen weighs almost nothing, takes up no space, and protects my sunglasses from scratches. I usually am pretty careful about not squashing my sunglasses, so my main concern is scratches. The linen sleeve really helps out whether I am stashing my shades in the car or carrying them on the go.
I’ve made this project as simple as possible, so, as usual you can let run creativity take this anyway you want. Pick your favorite colors or add a fun design!I decided at the last minute to add a drawstring made of embroidery floss. You can leave out this step entirely if you want. I just wanted to see how it would look! I like the sleeve with or without the drawstring.
Materials:
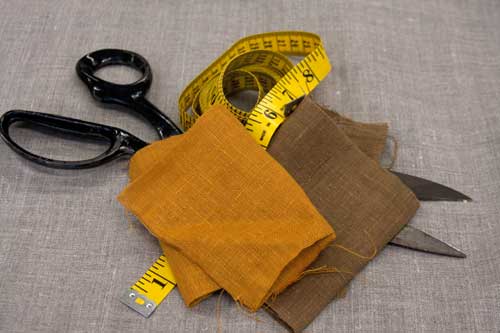
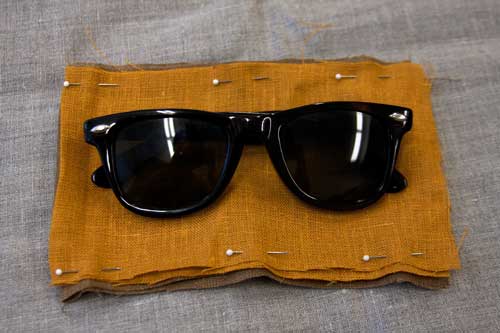
- 2 different colors of linen
- Scissors
- Sewing Machine
- Embroidery floss (not pictured; optional)
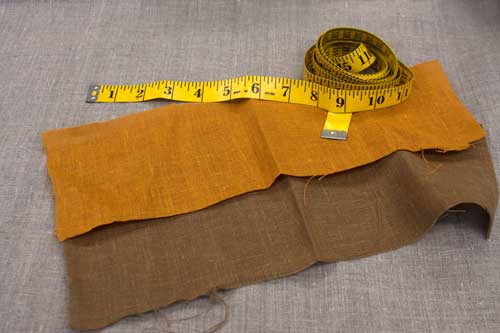
The first step is to measure and cut your two pieces of linen. I chose IL019 linen in Ginger and Autumn Gold.
I measured my pieces of linen at 4 ½”x14.” You may need to adjust this size if you have larger sunglasses. This measurement doesn’t have to be the same as mine. I just measured enough to fit my pair of sunglasses, while keeping in mind to leave a little extra fabric for the seam.
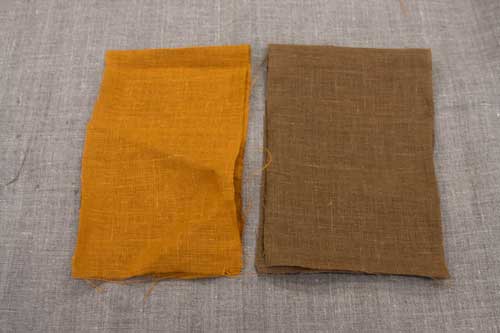
Fold each piece of linen in half.
Place one of your folded pieces on top of the other. This is where I noticed that I didn’t cut my two pieces of linen completely the same….but it’s ok! As long as they are almost the same size everything will be just fine. We are going to sew the edges so it doesn’t have to look perfect at this point.
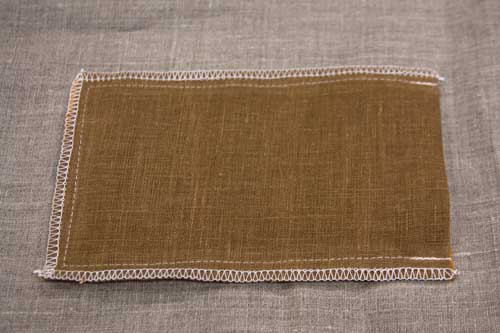
Make a seam starting at one of the longer edges, continuing to the bottom open (not the folded) edge, and ending with the remaining long edge. Do not sew the folded side! That is where we will soon be sliding our glasses into.
Go ahead and trim off any excess material from the seam or finish your seam like I did (you will need a special sewing machine for this function). Either way is fine because it will not show anyways.
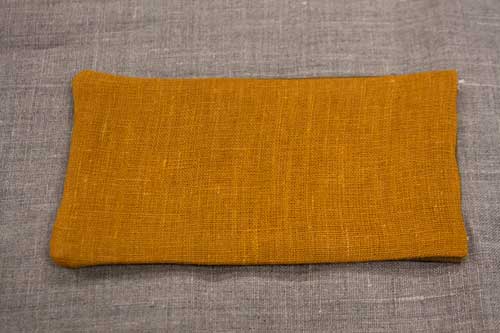
Once you clean up your edge, flip your sleeve right-side out.
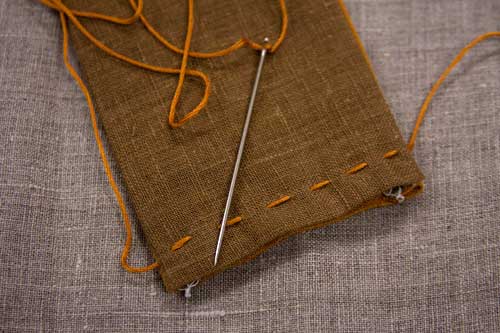
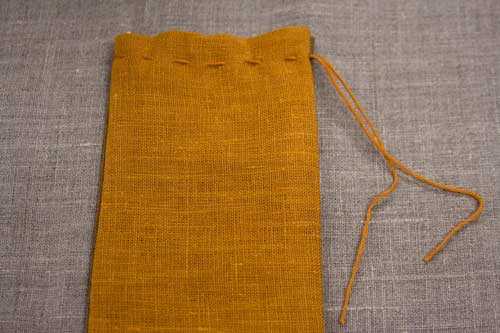
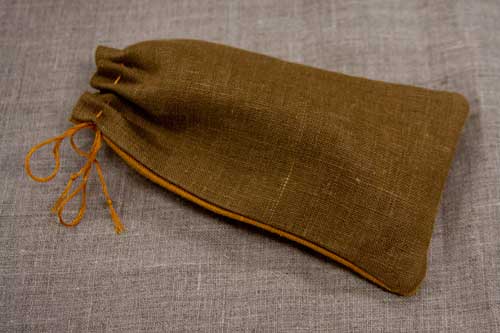
You are all done at this point unless you would like to add an incredibly easy drawstring. I stitched some embroidery floss along the top to create super simple drawstring.
Just stitch it all around the top so the two ends meet at one side. I knotted the ends so they wouldn’t fray.
Now all you need to do is slide in your pair of sunglasses and never worry about scratches on the lens ever again!
*Let us know how you liked our latest post and if you have any more ideas on making a sunglasses sleeve! Leave us a comments or check out our Facebook page.




4 Comments
AuntyMFlammatoryKauai
Thanks for thinking of this. It will make my life less stressful!
Masha Karpushina
:))) great to hear, thank you!
Qadria
This is a quick and cute project. Itcould be embellished with beads, buttons, etc, and also quicklymade from one simple square pot holder! Try the pothooder for instant and needed cushioning w/o any extra steps!
Qadria
Caroline
Thanks for nice ideas! i thorougly enjoy.